Sunday 23 November 2014

Gilding and Finishing a Gadroon Frame

The frame from the previous blog post has now been gilded, in 23.5ct loose leaf gold.


When dry, the gilding is consolidated with a thin coat of clear shellac.
Ageing the gold:
 If the gilding was water laid, the gold would have been gently abraded to show the leaf overlaps and the underlying ground colours. This however is oil gilded and to use any abrasions will tend to both dull and tear the fine surface of the gilding.
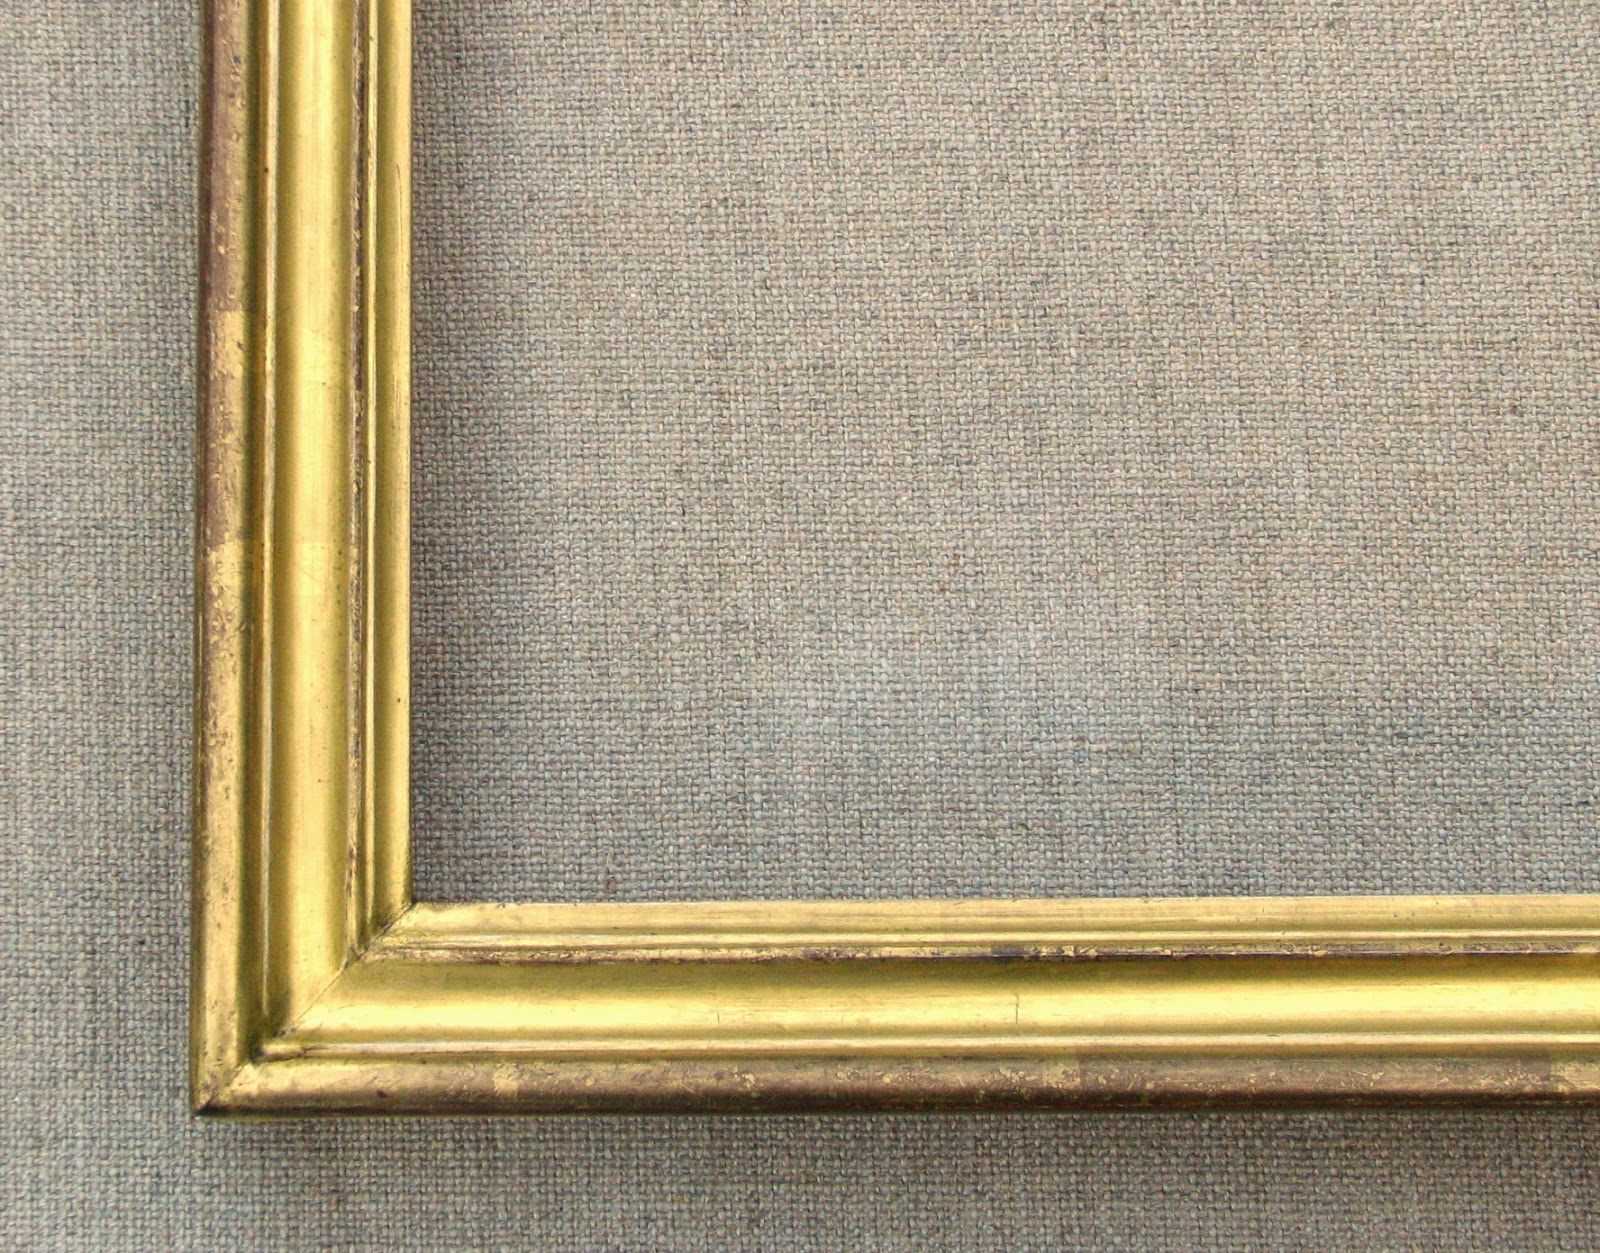
For this frame I have used a series of antique glazes to create the effect below.


The antique glaze is water based and must be applied in thin coats in order to avoid puddles and streaking. Each coat must then be protected with an isolating varnish, as repeated applications of water glaze will tend to lift the previous coats.
It is the gentle abrading of the isolating varnish that creates the effect of. wear on the gilding.


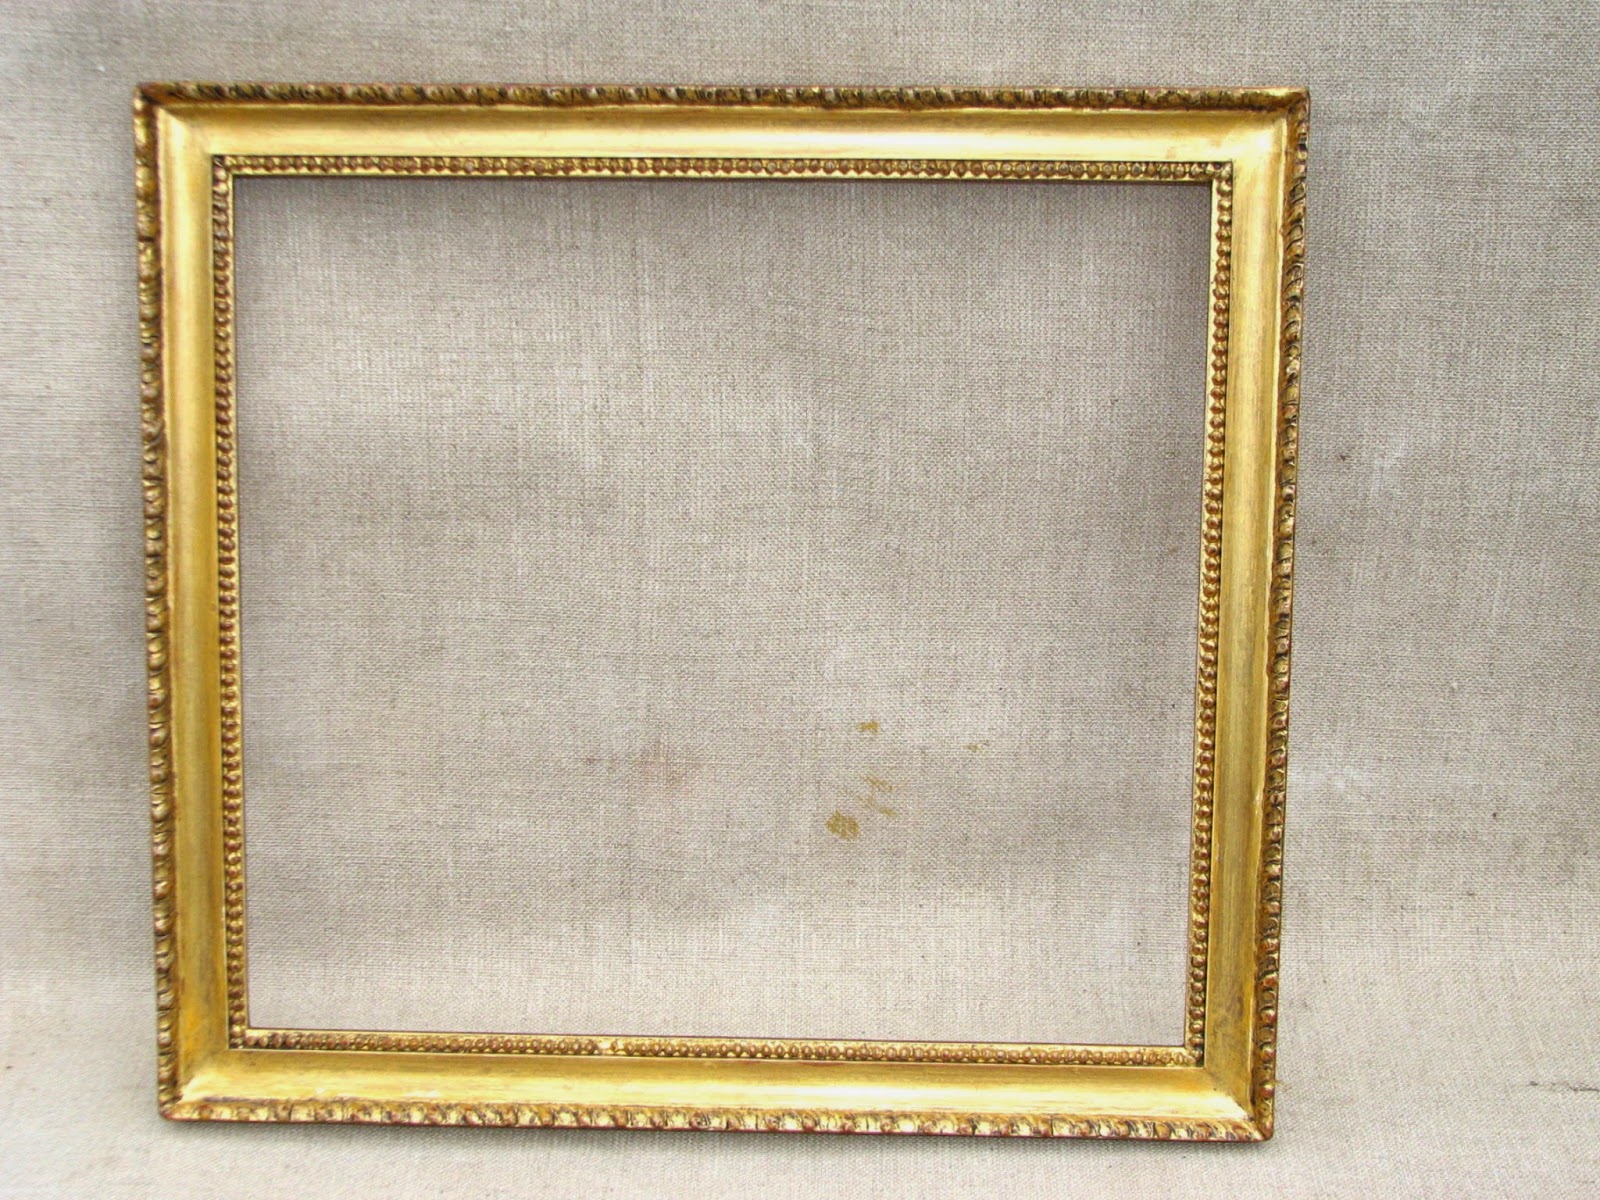
A frame like this can require six to eight coats of antique glaze.

                                                        My Antique Glaze.
The challenge of trying to age gilding to the colour seen on antique picture frames in museums and galleries, is to alter the colour of the gold but not kill its luminosity.
The glaze I use has two main working elements; a mixture of dyes which rotate the colour of the gold from a pale golden yellow to a cold dirty green, with a hint of sourness.
This alone, however, leaves the gilding quite sharp and thin in appearance.
The second working element is a selection of bright pigments to fill out the colour and  return the lively reflectance of good gilding.
As I said, this can only be achieved by the repeated use of thin coats of glaze but well worth the resulting effect.


Sunday 16 November 2014

Making a Gadroon Style Frame

I'll describe the processes I used to make this frame.
The basewood is cut from a length of pine stretcher split in half. The profile was then sized with rabbit skin glue and sprayed over with gesso.
Once dry, the gesso is smoothed with two grits of sandpaper, 180 then320.
To make the moulding decoration, I squished some warm compo into prepared moulds. After allowing the compo to cool, it is cut from the casting and glued to the frame moulding.
Both inner and outer castings are shown here on the frame.
On this style of frame, I prefer to glue the castings on the frame lenghts first. Then the frame is joined and the mitres filled with hot gesso. After drying, the corners are re-polished and the frame readied for painting with clay bole.
Some people like to apply many coats of bole. I prefer to just paint on two thin coats, as this can show a more interesting effect when seen through worn gilding. So, the frame is given two coats of thin yellow ochre colour and a light top of red on the high points of the compo decoration.
When dry, the bole is lightly sanded with very fine grits and polished with a short hog hair stencil brush.
This frame is to be oil-gilded, as correct for it's period, so the entire surface is sealed with a thinned coat of clear shellac.
When this shellac is well dried, I painted on a 12hour goldsize. It's as important to remove as much surplus size from the surface as possible so that when" tack-ready" for gilding, the oil size has achieved a perfectly flat finish. Together with the slow drying properties of 12hor size, the gilding will show at it's brightest.

Thursday 13 November 2014

A Rosewood Frame

The rosewood frame has been assembled and finished.

Rosewood can be a tricky veneer to age. The wood has a very strong colour which if simply polished is too bright and new, yet toning the colour darkens the wood and can result in the loss of effect. I use waterstains because they give good control of debth and colour. A careful addition of dry pigments in shellac mellows the effect.
I've used four layers of shellac to build up the surface, painted on a light antiquing glaze, then two coats of clear wax.

Friday 7 November 2014

Some finished Frames

The Elm veneered frame has now been finished.
I've inserted a traditional victorian watergilded slip.
After the veneer was given it's shellac varnish and allowed this to sink into the grain, I denibbed the surface and applied two coats of antique glaze, followed by two applications of clear wax. The glaze is water-based, so wasn't disturbed by the wax.
The slips are double scooped where the inner scoop is burnished and the outer scoop left matt and heavily distressed.
Here they are before toning with antique glaze.
And after toning.

Tuesday 4 November 2014

Veneered Frames - continued

The frames have now been cut and assembled.
This is one of the elm frames. Here I've mixed up a water-stain using Fiddes concentrates and scrubbed it into the raw veneer. Mixing stains can be very subjective but I find blending the concentrates with some Van Dyke crystals gives a good antique colour. Two coats of stain bring out the grain pattern best.
Next the colours are muted with some umbers and ultra-marine blue, mixed with spirit stain concentrates in shellac. All a bit complicated and it does take quite some care.
After all that, the frame is given several coats of shellac white polish and left to dry.
Leaving the frame then to allow the shellac to sink through the grain and give a pleasing relief pattern on the surface.

Friday 31 October 2014

Veneered Frames - continued

All the frame lenghts have been in the veneer press for 8 hours; are taken out and left to dry overnight.
Each lenght is cut out and trimed.
The veneers are now "cleaned-up". I find the best grits are 180 and 360, to achieve a good finish. 180 grit removes enough top material without the disaster of sanding through the veneer.
Finally the lenghts are rebated and profiled ready for assembly into frames. They will then be stained and varnished etc. etc.


Sunday 26 October 2014

Making some Veneered Frames

I'm going to make several veneered frames in a traditional "slope profile". One of the frames is 3inch wide, so I've taken two pine stretchers and glued them together. Then shaped out the basic profile.

This profile will be veneered with Crown Rio Rosewood.
This is the rosewood often seen on Victorian print frames and silhouettes.
This is Burr Elm veneer that will be used on some smaller profiles.
I'll be using a vacume bag with Titebond glue to press the veneers.
This glue is an aliphatic pva with thermoplastic properties. This simply means that it can be reactivated with some heat - ie, a hot iron, if there are any "blisters" on the dried veneers.


Monday 6 October 2014

Finishing a Hogarth Frame

 The frame has now been joined and ready for finishing
The cherry wood is first stained with a dark van-dyke brown water stain. I then glaze a thinish coat of yellow ochre over this, to add some solidity to the colour. Next I paint the compo ornaments with yellow bole and top this, on the high points, with some red
As the running pattern ornament is to be oil gilded, I can  paint on several coats of black shellac without worrying too much if some gets on the ornaments. Three coats are usually sufficient and with careful de-nibbing between coats. When the black laquer is dry, the running pattern is sealed with a thin coat of clear shellac.
And when that is dry, I first mask out the blackened cherry wood, and apply a thin film of 12hour gold size. For the brightest gilding, it is always best to use a long set size and remove as much surplus as possible during application.

The ornaments are now gilded and the masking removed to reveal the completed work.
After allowing the frame to dry sufficiently, I first seal the gilding with some clear shellac and then attack the frame with  several distressing techniques to age the overall frame.
I'll then colour the gilding and cherry wood with several coats of Museum Ageing Glaze 2, before
polishing the black with some wax.
And there we have it, an antiqued Hogarth Frame.


Monday 29 September 2014

Making a replica Hogarth Frame

Early Hogarth style frames were cut from a fruitwood base. For this frame I'm going to use cherry wood, which is a fruit wood with a dense close grain and polishes well after finishing.
Here I've cut the basic profile and prepared the wood ready for compo ornaments.
The compo ornaments have been applied and the profile cut to it's final shape. The frame will then be assembled and prepared for gilding the ornaments and laquering the wood.

Tuesday 23 September 2014

Gilding and Finishing a Georgian Frame

The frame has now been watergilded with 23.5ct gold
.
The appearance is solid but very bright and unsuitable for framing an antique watercolour.

So I've knocked it back a bit and distressed the high points. This shows up the leaf laps and the underlaid grey and red bole.

The outer and inner high rails are burnished to a mirror finish.
The frame is now glazed with "Museum Ageing Glaze 2". Several coats are used to build up an antique glow
.
The frame gets a final polish and is ready for framing.

Tuesday 16 September 2014


A small Georgian Frame
I'll make this frame from lenghts of pine stretcher. Pine has a nice weight and solidity. This piece has been selected for having few knots.
Here I've cut the basic shape and defined the overall size of the profile.
The finished profile with rebate and shaped back edge. This is now sized ready for spraying with gesso.
The frame has been cut, joined and sprayed with gesso.
The most tedious bit. The gesso has been sanded smooth and water-polished to a marble finish.
I've now painted the frame with three colours of clay bole. The base coat is a yellow ochre; then a thin layer of red ochre over the high points and toped with a coat of grey.

The bole has been smoothed and polished to a fine finish. With a thin coat of size the frame is now ready for gilding.